Guide to CO₂ Incubator Maintenance
A CO2 incubator controls physical factors such as temperature, humidity, CO2 and O2 levels to mimic the natural environment of the cells. A well-designed CO2 incubator features high-quality incubation, precise heating and contamination control to guarantee optimal cell growth and development.

How to properly install a CO2 Incubator?
Proper installation is essential to ensure that the CO2 Incubator has optimal performance. Here is an installation checklist to guide you:
1. The CO2 incubator should be placed on a dry, stable, and sturdy platform or on the various optionally available floors.
2. Never place the CO2 incubator close to heating or cooling ducts, flammable materials, or devices that produce excess heat, such as autoclaves, radiators, ovens, and the like.
3. Ensure adequate air ventilation around the CO2 incubator to allow proper heat and gas dissipation. Do not place the unit directly in the path of moving air currents.
4. Ensure that the CO2 incubator is connected to a dedicated power source with protective grounding installed.
5. Check if the CO2 incubator is even by placing a bubble level on the center top shelf of the unit.

How to maintain a CO2 Incubator?
Proper and timely maintenance is crucial for any device and the CO₂ incubator is no exception to this rule. Follow the maintenance checklist below to ensure the CO2 incubator’s optimum performance.
1.Check the CO₂/N₂ gas tank level
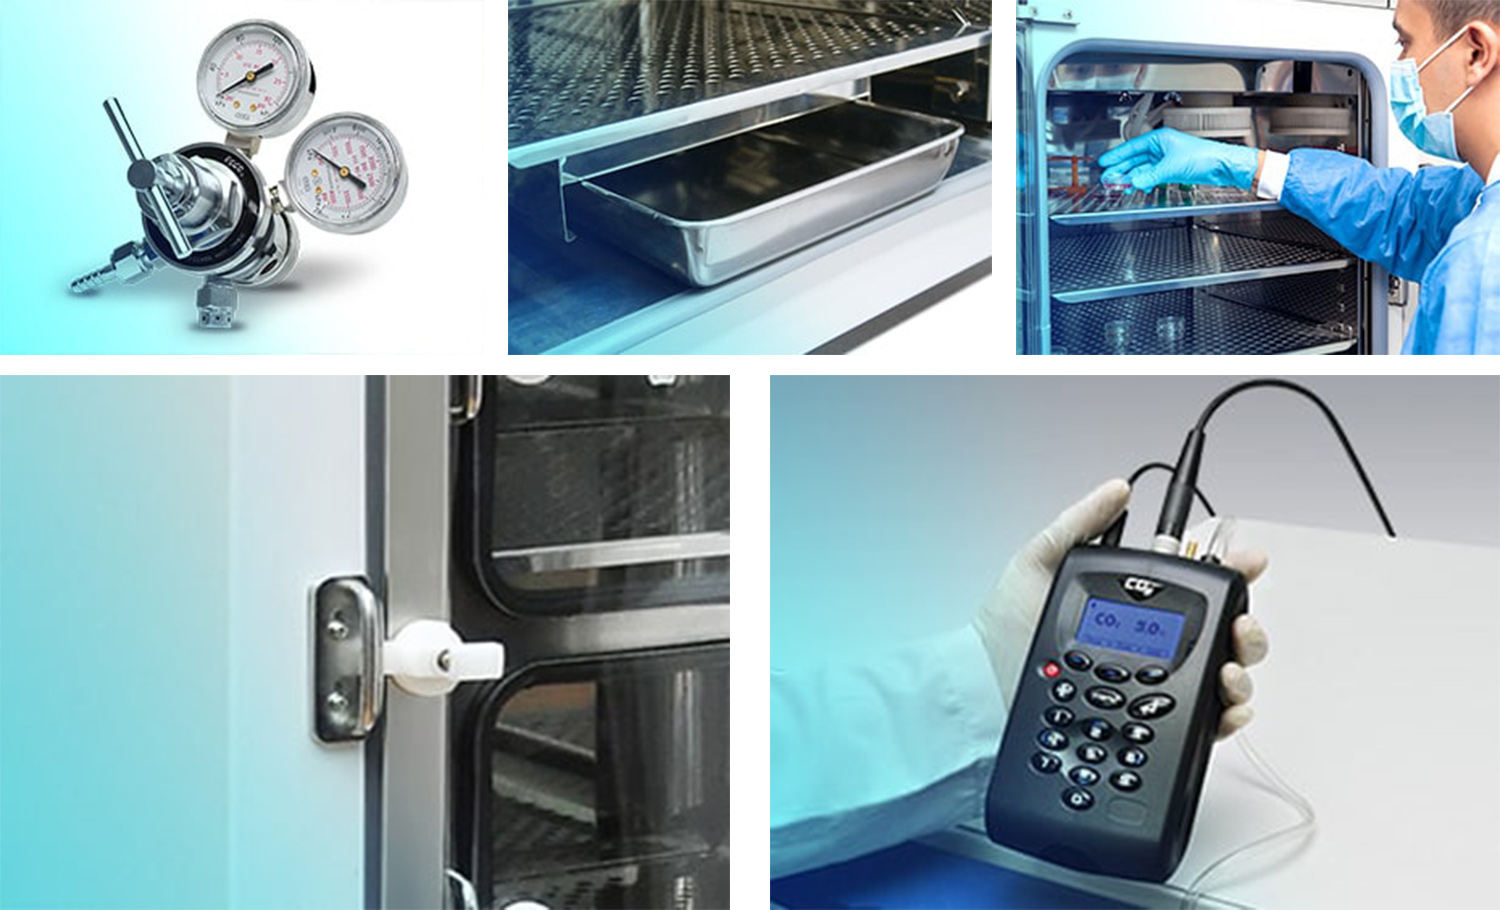
Check the pressure gauge on the two-stage gas regulator daily to ensure the pressure is not below 15 psig.
Replace it with a new tank if necessary.
2.Check the water level in the humidity pan
Ensure there is sufficient water in the pan by checking weekly.
It is recommended to check the water level and refill the humidity pan with sterile distilled water once a week.
3.Clean the CO₂ incubator's interior and exterior
Disinfect surfaces with a general-purpose laboratory cleaning agent.
4.Carry out general inspection
Check the tightness of the glass door seal and hinge screws on the door's moving parts.
Inspect if the glass door latch is working properly.
Functional check of the operating panel and device control.
Electrical safety check in accordance with the standard regulations.
5.Calibrate the sensors
Check the temperature sensor, CO₂ sensor, O₂ sensor, and relative humidity sensor to ensure continuous and optimal performance of the CO₂ incubator.
6.Change the ULPA filter (For 170L/240L units)
Replace when the filter is unclean by visual inspection.ous and optimal performance of the CO₂ incubator.
7.Change the inlet filters
Replace when the filter is unclean by visual inspection.
Cleaning Procedure
1. During the cleaning process, the operator should use Personal Protective Equipment (PPE) according to the provisions of the laboratory.
2. Prepare the materials needed for the cleaning process, such as mild soap solution, distilled water in a wash bottle, sponge, clean cloth or tissue, disinfectant, and wash tray or bucket (if a sink is not available).
3. Metal surfaces can be cleaned using stainless steel cleaning agents. The inner glass door surfaces can be cleaned using glass cleaners. Never use chlorine-based disinfectants.
4. Transfer all samples to another CO₂ incubator or store them in a safe place.
5. Turn off and unplug the device. If needed, mark that the unit is deactivated or serviced.
6. Remove the shelves, shelving system, top plenum, and humidity pan.
7. Thoroughly remove dirt and residues from the surfaces of the workspace using a mild soap solution and a sponge or spray the appropriate disinfectant onto workspace surfaces and all dismantled parts. Allow the disinfectant to react as specified by the manufacturer.
8. Do not spray disinfectant directly on the sensors, control panel, and surfaces near the electrical panel to prevent damage to the electrical parts. Use a cloth soaked with disinfectant to wipe the control panel and the exterior body.
9. Rinse the soap solution or disinfectant twice using the distilled water in a wash bottle. If the part is hard to rinse with a wash bottle, use a wet sponge to remove the soap.
10. Dry all rinsed parts with a clean, lint-free cloth or paper towel.
11. Wipe the interior components and exterior surfaces with 70% ethanol, then allow them to dry.
12. Re-assemble the unit and ensure the equipment is completely dry before commencing routine operation.
13. Activate the decontamination/sterilization cycle program.
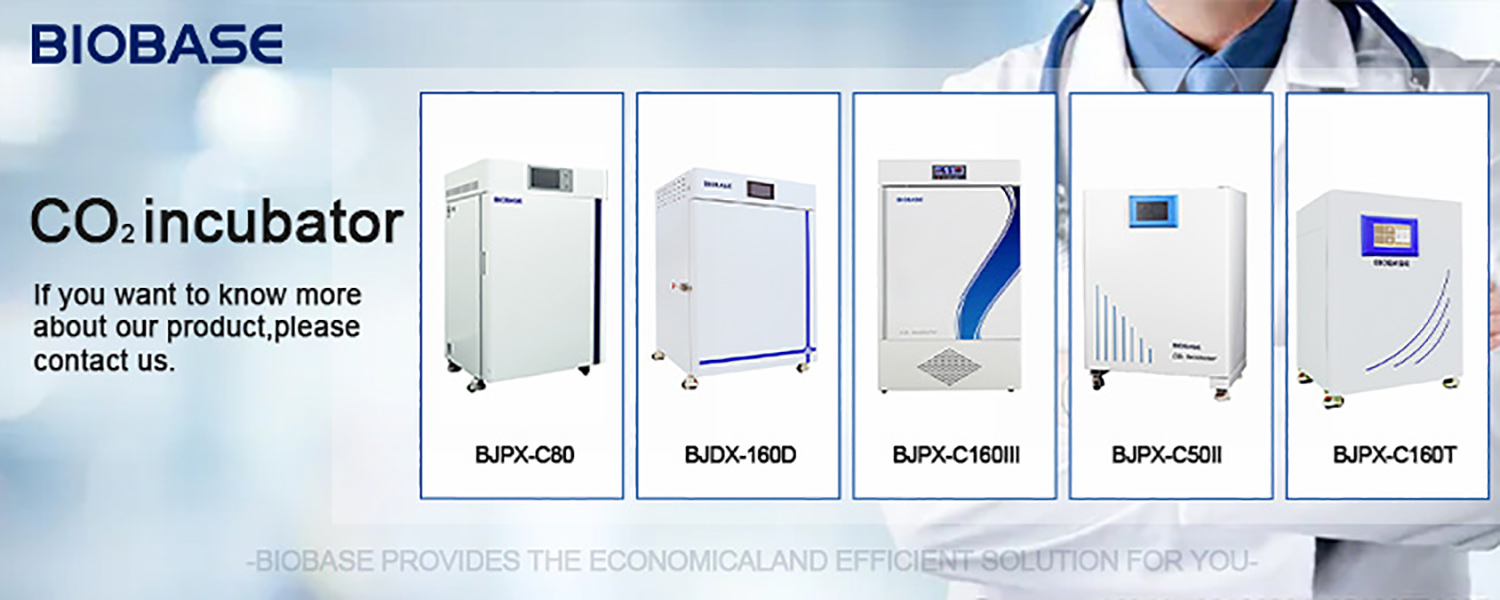
With correct installation and proper maintenance, the CO2 Incubator will last longer and will ensure safe incubation of cells and tissues. BIOBASE is a one-stop shop that offers top-end CO2 incubators with several models, while providing installation and maintenance services.

